How to Clean and Reframe Thrift Store Art
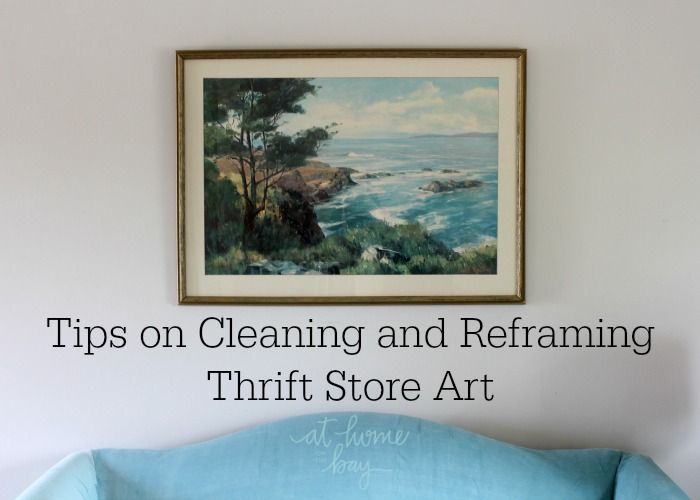
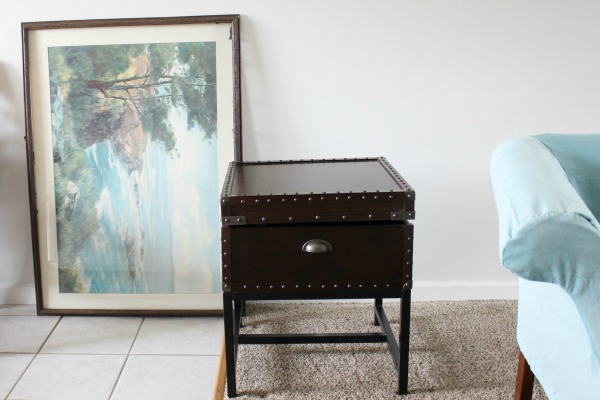
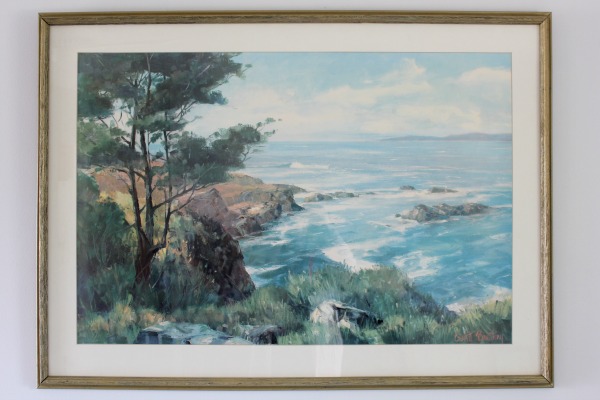
After unpacking all the boxes we brought to Cleveland, I had some items that I realized we didn’t need in our new home. I took them over to the Habitat for Humanity ReStore in our area. Once inside I couldn’t resist the temptation to browse. I ended up coming home with a side table and piece of old art. The artwork itself was a print of a watercolor that reminded me of Maine. The frame was dusty (on the inside and out) and the paper on the back was falling off, but I new I could fix it, besides it reminded me of Maine. Here are some of my tips for when you find a great piece of thrift store art that needs a little TLC.
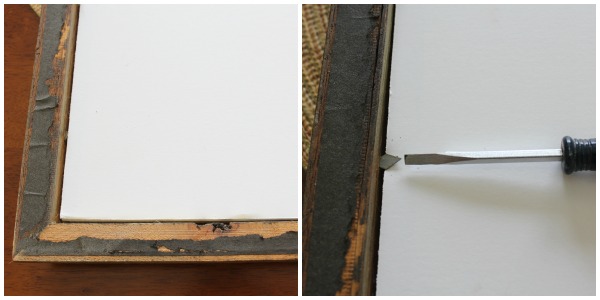
Begin by removing hangers and/or eyehooks and wires from the back of the frame. If they are still in good condition you can set them aside to reuse later. Next, remove the old paper from the back of the frame. Peel off as much of the loose paper as you can.
Use a screwdriver to bend back the glazier points that are holding the artwork in place. Gently remove artwork. I lightly dusted off the artwork. If the mat is dirty, faded or you want a different color, you can replace it. They have standard size mats at A.C. Moore, Michaels and framing stores.
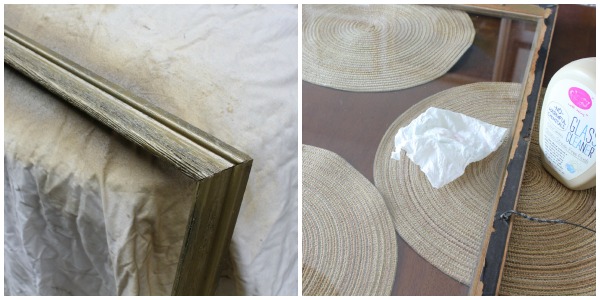
At this point you can remove the glass and clean the frame. This is a good time to change the color of the frame with spray paint, if you like. I gave this one a light coat of the Rust-Oleum gold leftover from the pendant light project. Thoroughly clean the glass on both sides. Once the frame is dry you can put the cleaned glass back in place. Add the mat and artwork. Bend the points back into place. If you need to replace the glazier points, they can be found in most hardware departments or on Amazon.
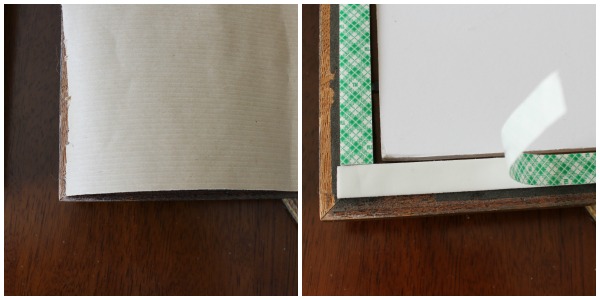
Now it is time to add the paper dust cover. I used a roll of kraft paper that I had on hand, but you can use any wrapping paper (or even a paper bag if the frame is small enough) for this part. Trace the frame onto the kraft paper and cut along tracing line. Tape one side of the double sided tape around the frame. Peel back the top side of tape and press the paper onto the back of the frame. Trim any excess paper.
Measure down from both sides of the frame and mark where you want the eyehook and hanging wire to go and twist in place. You can add picture frame bumpers to the corners. They will help keep the the picture straight on the wall.
It definitely reminds me of the rocky coast of Maine.


Lovely Mary! I love the feel that vintage art gives:)
Thanks for the great tips on this post. I never thought to use double sided tape to attach the paper backing. And yes, the painting sure does look like the coast of Maine. Are you all settled into your new home? Have a wonderful weekend. Pam